My 1080TI upgrade adventure (and so can you)
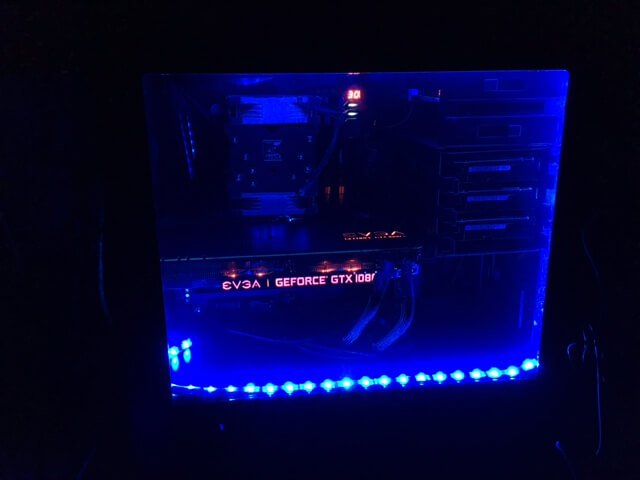
This weekend I upgraded to the 1080TI (EVGA FTW3), This thing is big! I got lazy this time around. I figured, I was only upgrading from a 1080GTX and I have a mid tower case, I don’t need to actually get in there in measure right??

Cooler Master bailed me out, big time
Thank god for the Cooler Master case maker 5. If not for this case, I would’ve likely had to package that new card up and send it back to New York. Since I was lazy and didn’t even bother looking to see if this card would fit in my case ::spoiler alert:: it didn’t. I ended up having to make a few adjustments to make it fit. The few adjustments?
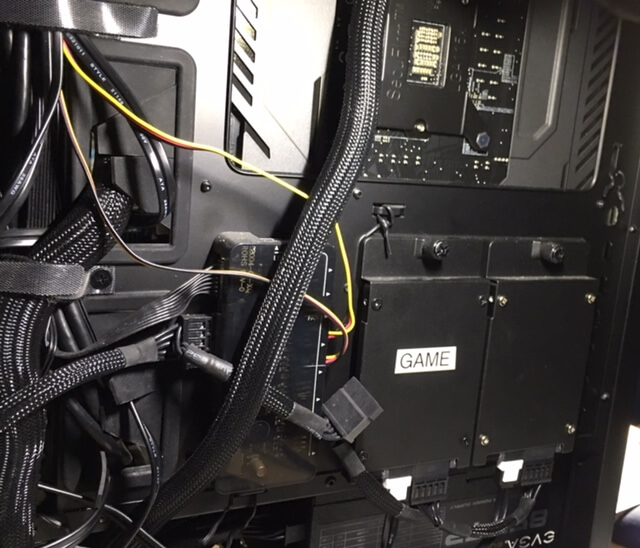
Re-route 6 SATA cables
Completely remove a dual hard drive bay
find a new home for one of my hard drives
Swap out the single 8+6 pin power connector for two 8 pin connectors on the power supply
A series of small miracles took place which allowed me to actually install this card.
Miracle one: I had run out of hard drive space on my C: drive a few months ago. I decided go with an M.2 (Samsung 960 Pro) for a replacement, this freed up a hard drive slot on the backside of the case which I’d soon need..
Miracle two: having a removable hard drive bay built into the case. Most cases I have worked with DO NOT have this feature, this is why I am so jazzed about the the CoolerMaster Case Maker 5. Without even the use of tools, just two hand screws and the hard drive bay was gone. The card was just a little too big to fit in there with the hard drive bay.
Miracle three: Having a modular power supply and keeping the box with the power supply cables which allowed me to easily swap the connectors I’d need for the new card.
Miracle four: Finally, having those two SSD mounts on the back side of the case (again big props to Cooler Master for those), having freed one up with my hard drive swap a few months ago, I was able to move the one SSD that was in the hard drive bay to that empty mount.
Cautionary Tale
The main reason for this post was just to let you know that if you’re upgrading from a 1080GTX to a 1080TI, it’s not just a plain swap. The 1080TI (at least the EVGA FTW3) is significantly larger and requires two 8 pin power connectors, just make sure you have the room in your case and the right power connectors. I know this is basic advice, but coming from someone who has done this many times, I screwed up this time around by not bothering to do my homework and it almost caused me a major headache and disappointment.
Software
Now that you have your 1080TI up and running you might want to install the EVGA software so you can play with the LED colors and overclock settings if you’re so inclined. The software can be found at:
https://www.evga.com/precisionxoc/
Just a warning, this is an obnoxious install. You’ll have to provide a working email, go through capcha, provide all your graphics card info, then verify your email before they’ll let you download it. You could Google “precision XOC” and take your chances downloading it somewhere else, but when playing around with an $800 graphics card, I’m not going to get the software anywhere but the vendor.
In closing, the card itself is amazing, the software works well, and I can’t recommend the CoolerMaster CaseMaker 5 enough. It’s been a pleasure to work with.